
For the most part, Canva is designed to produce digital graphics for things like social media or websites.
However, more and more people are using it to design for print. Here are some tips to help you get a print-ready file.
Canva TIPS

Make Your Document the Correct Size Before You Start
If you are not using Canva Pro, you can NOT re-size your design later. We have a page that gives you the different sizes of common and economical sizes to design to. (We can print other custom sizes too, but the standard sizes are the most efficient cut sizes to make the best use of the sheets of paper that you can use in New Zealand.)
Use High-Quality Graphics and Photos
Our printers are very good at their job but if you have supplied a poor-quality or damaged photo, there is nothing that they can do to fix it. Unfortunately, they will print it exactly as supplied so if you have supplied something that isn’t very great, you could be disappointed.
After placing a image, scaling it larger usually means a reduction in quality and sometimes if you scale an ordinary photo down it can sometimes improve it a bit.
Graphic with enough pixels
Graphic with a lower resolution
RGB vs CMYK
Should your images be RGB or CMYK? For print, CMYK is better for accuracy but on our smaller-run machines, it actually doesn’t matter much. Each of our image processors will convert an RGB image in the best way for the particular printer.
If you are planning to get a large print-run, you may need to get in touch with us first. Generally, you may need to keep in mind the RGB has a larger colour range than CMYK. What this means is if you have a design that has a very bright green or blue that looks great on a screen, you need to be prepared for a muted colours when printed on paper.
Proofread and Double-Check!
Checking your spelling and things like phone numbers before you send us a ‘print-ready’ file can save you money by avoiding a reprint. Sometimes, opening up your pdf and ‘zooming in’ can help you tell if your photos and text is clear enough too.
Downloading for Print
If you wanted to download a file that you could print, we recommend the (Print) PDF. (The ‘Share’ Button will lead you to an option to ‘Download’ a file. If you want to print something, PNG (and ‘Standard PDF’) is not the best choice. You will want to choose the Print-Version PDF. Also, make sure that the tick box for ‘Crop marks and bleed’ is selected.
Include Bleed
It’s very important to make sure that you have added ‘bleed’ as well. (It’s also so important that we have a whole page to describe it.) Simply, it’s extra printing beyond the desired cut-size that is trimmed off after printing to allow a design to be ‘printed to the edge of a sheet’.
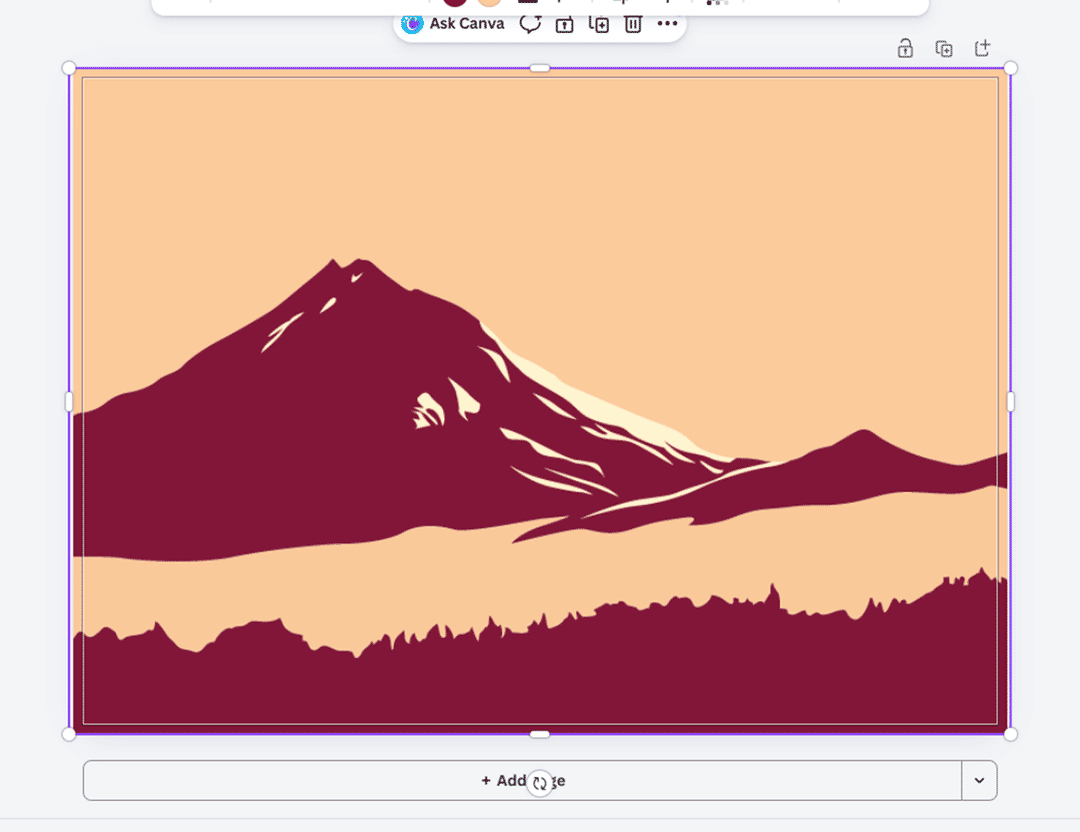
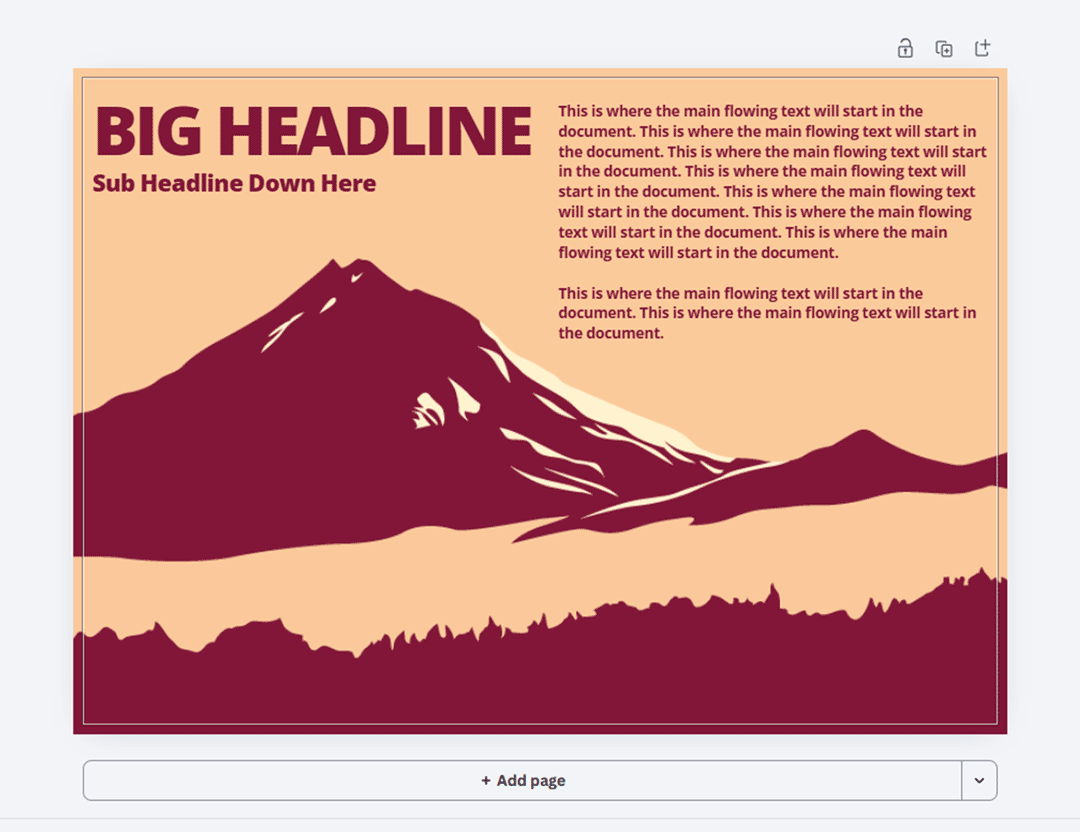
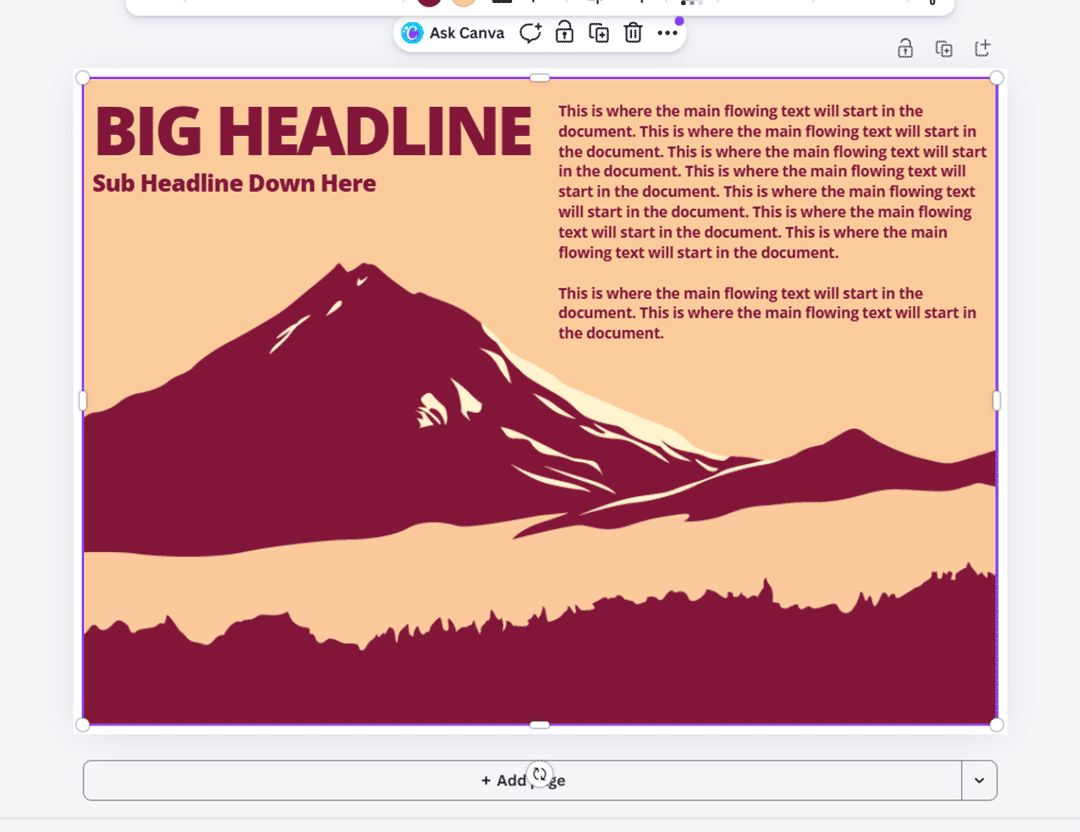
Specifically, for Canva, you will either need to pull ALL images and objects off the side of your page and then select “Crop marks and Bleed” when downloading a ‘print pdf’. While this can seem confusing, Canva DOES have a way to allow for it.
Click to our Bleed Page to find out what this is about or scroll down below to see how to do this in Canva.
-
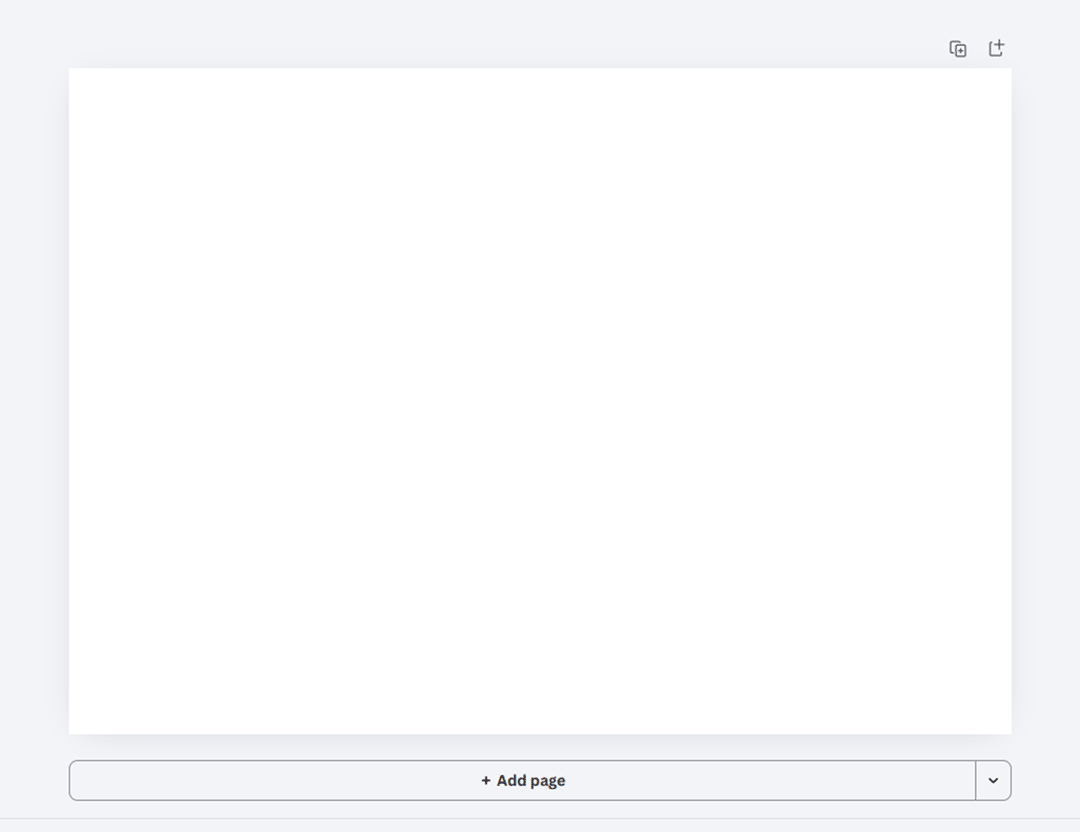
![Canva Bleed Tutorial 01]()
1
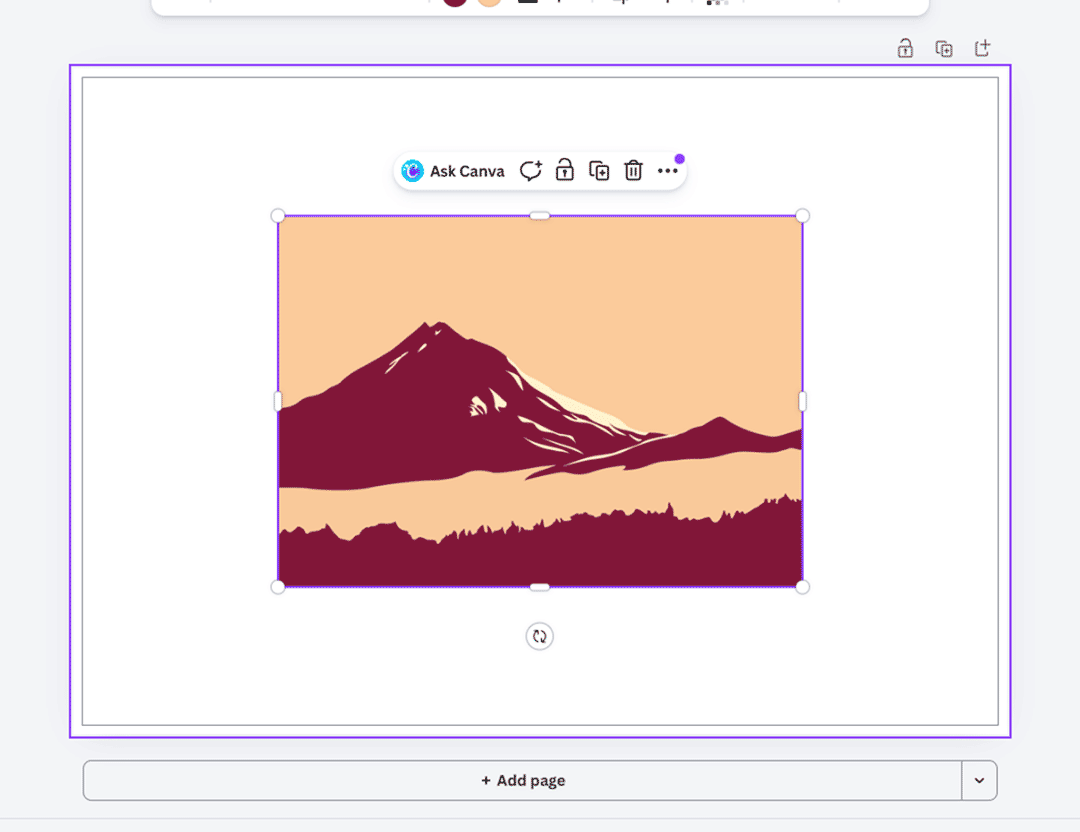
When creating a new document, the bleed might not be visible right away.
-
![Canva Bleed Tutorial 02]()
2
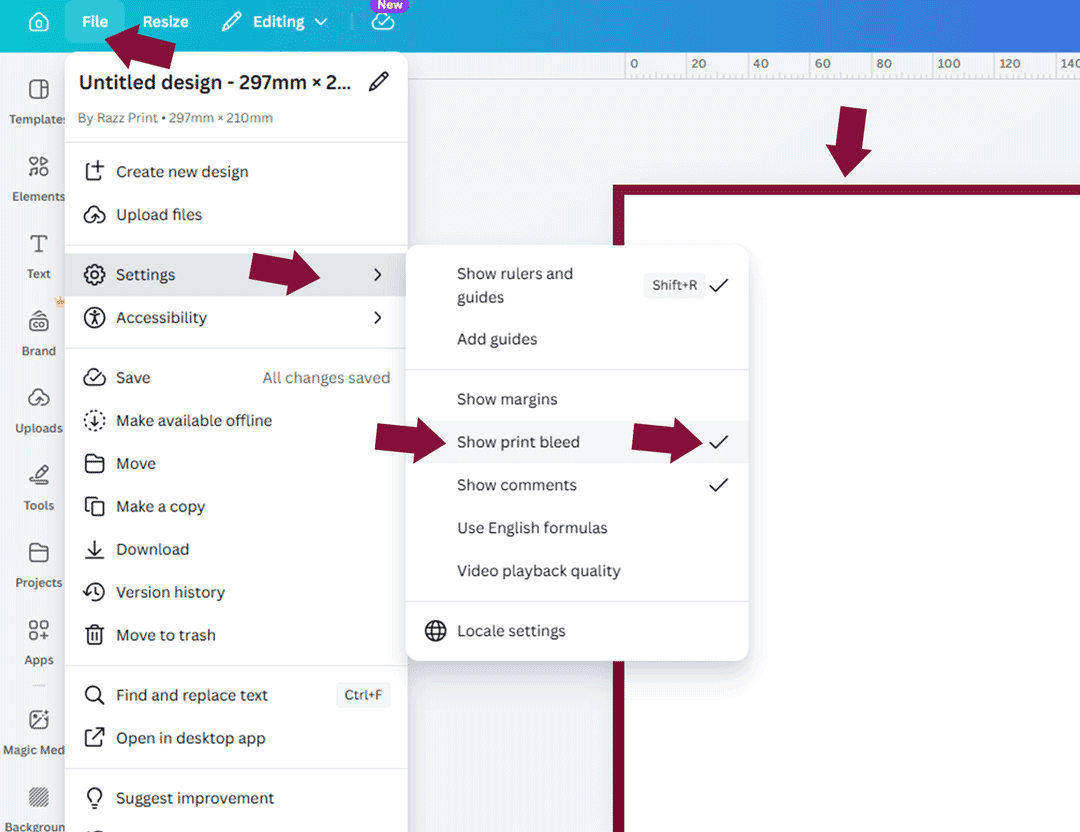
Under File > Settings > Show Print Bleed…
If this is ticked, the bleed area should be visible. (Coloured red in the sample above.) -
![Canva Bleed Tutorial 03]()
3
Now, if you, say, placed a photo…
-
![Canva Bleed Tutorial 04]()
4
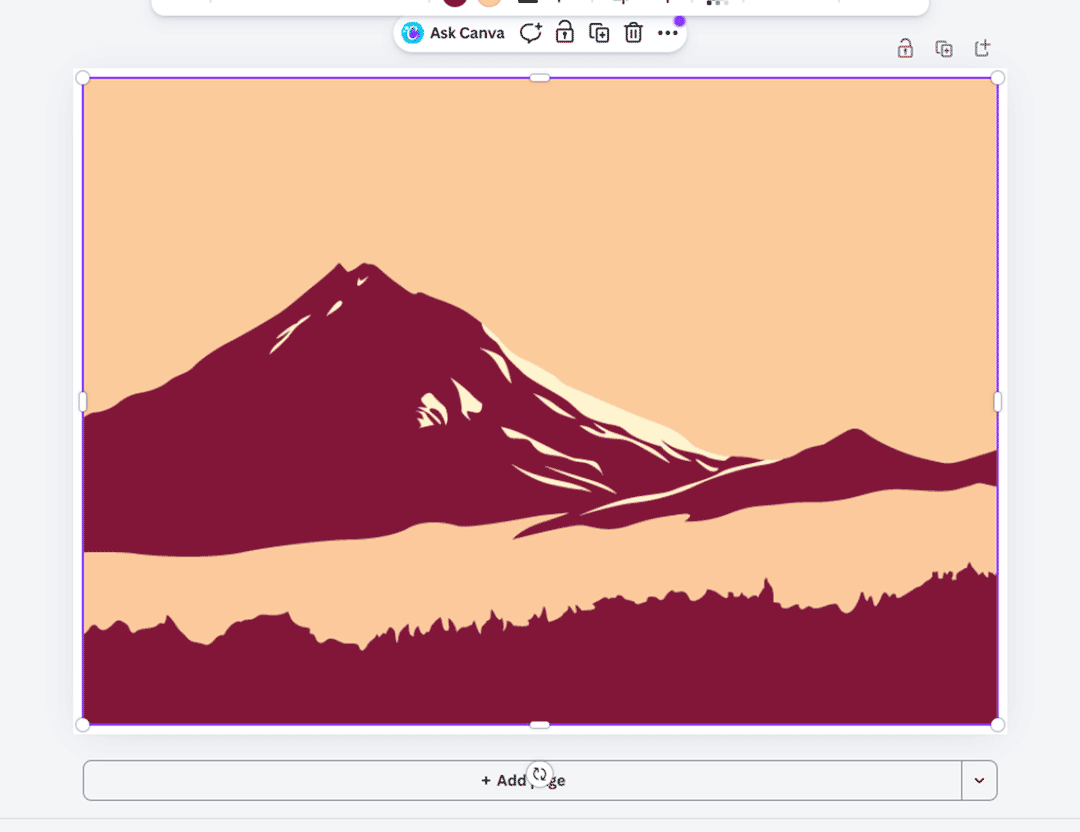
and wanted it to be printed to the edge of your document…
-
![Canva Bleed Tutorial 05]()
5
you will need to pull it out and fill up the bleed area. (The same for other objects, like a coloured box.)
-
![Canva Bleed Tutorial 06]()
6
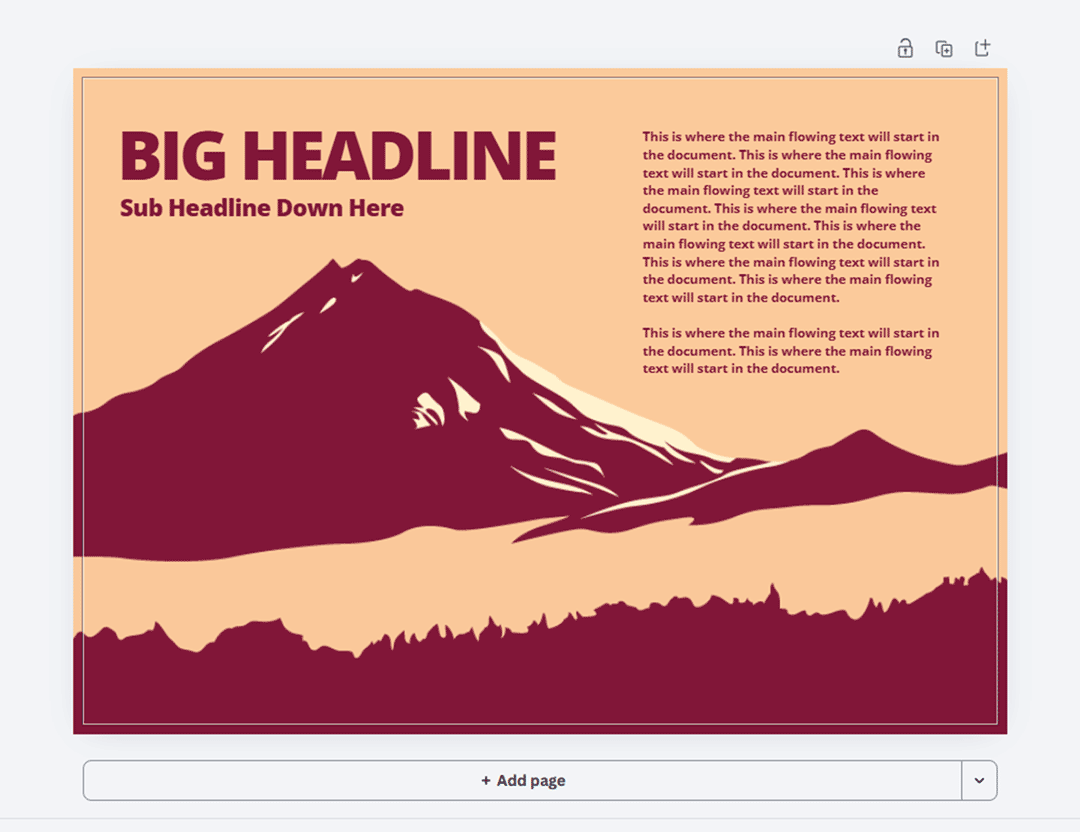
If you also wanted text in your design, it’s good to include a margin away from the trimmed edge.
-
![Canva Bleed Tutorial 07]()
7
Often, we see designs that have the type too close to the edge. Having a bit of space there make your printing look better.
-
![Canva Bleed Tutorial 08]()
8
Additionally, if there was no bleed, we would need to trim VERY close to the text which means that it potentially could trim away some of the letters.
It’s Okay to Ask
If you supply a pdf, and it is not print-ready, it will need to be fixed. You will either have the opportunity to fix it yourself and then re-supply a new pdf or get us to fix it for a fee. Even if it’s not 100%, getting in touch with us to help you provide the best possible pdf, will keep your printing within budget.
You can also share your Canva design with us so that we can see how you’re doing.