BLEED?
What is
Did you ever want something ‘Printed to the Edge?’ If you ever wanted a photo, designs or coloured backgrounds to be printed to the edge of the paper, we would have used ‘bleed’.
If we actually put ink that close to a side of a sheet of paper, the ink would build up in the press and make a huge mess. To avoid this, we design and print the artwork to be slightly larger and then trim the printing back to finished size.
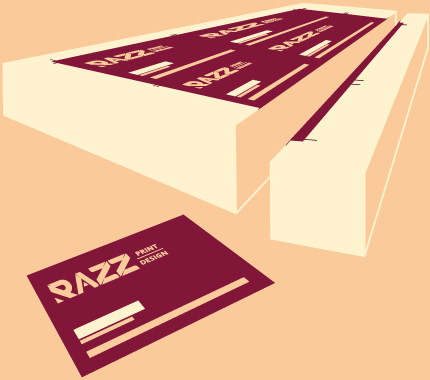
Let’s say you wanted
a business card...
90x55mm
We would add
3mm to each side
(90+3+3) x (55+3+3)
= 96x61mm
Make sure
that important
things, like text,
are not in this area
3mm
So after we print something
the bleed is trimmed off
and we have a finished card
Yes, I want this!
Using some software, an option to include this is in the document or page setup. Even if this is your situation, you still need to pull coloured boxes and photos out in to this outside area on EVERY PAGE. If you forget, you could likely have a thin white line between where you had the edge of your (un-bled) graphic and the edge of the trimmed page. However, in most cases, we would notice this and get in touch with you.
You would get the option to:
- let it go and we would try our best
- fix your artwork (add bleed) and re-supply
- have us to fix your pdf. (Time and price would depend on the editability of your pdf)
But how do I add this to my design?
But I’m using Canva!
If you already started something and want to add bleed, you have three options:
· You need to be subscribing to Canva Pro to be able to alter the document size of an existing design.
· You can start again and make your document 6mm larger on the width and height. (3mm on each side)
· As a last resort, we can print your document slightly larger and use the outermost of your design as disposable bleed. With this option, you will lose a slice of the outside of your design. In this case, it is best that all important information is moved (in Canva) away from the edges and re-saved as a pdf.